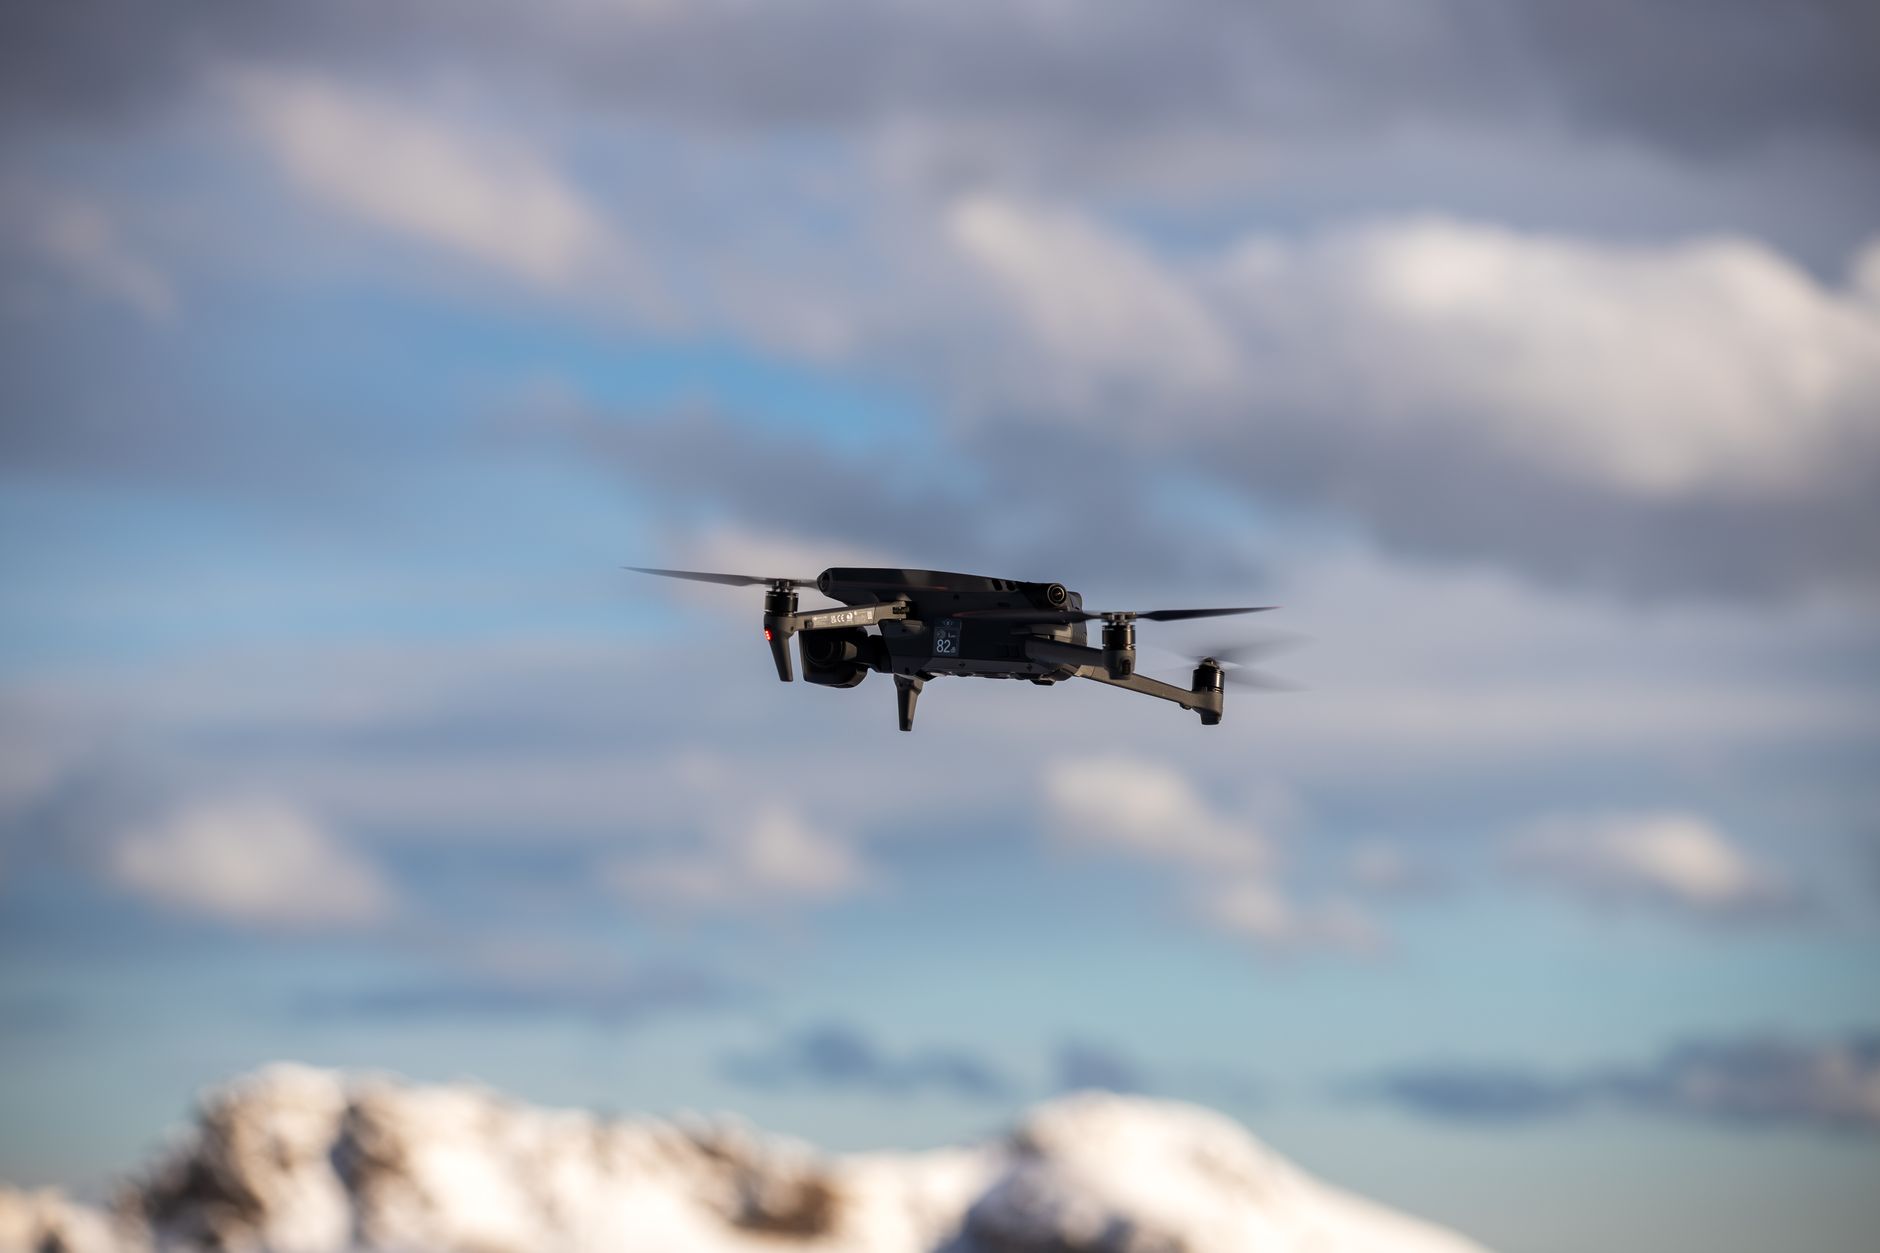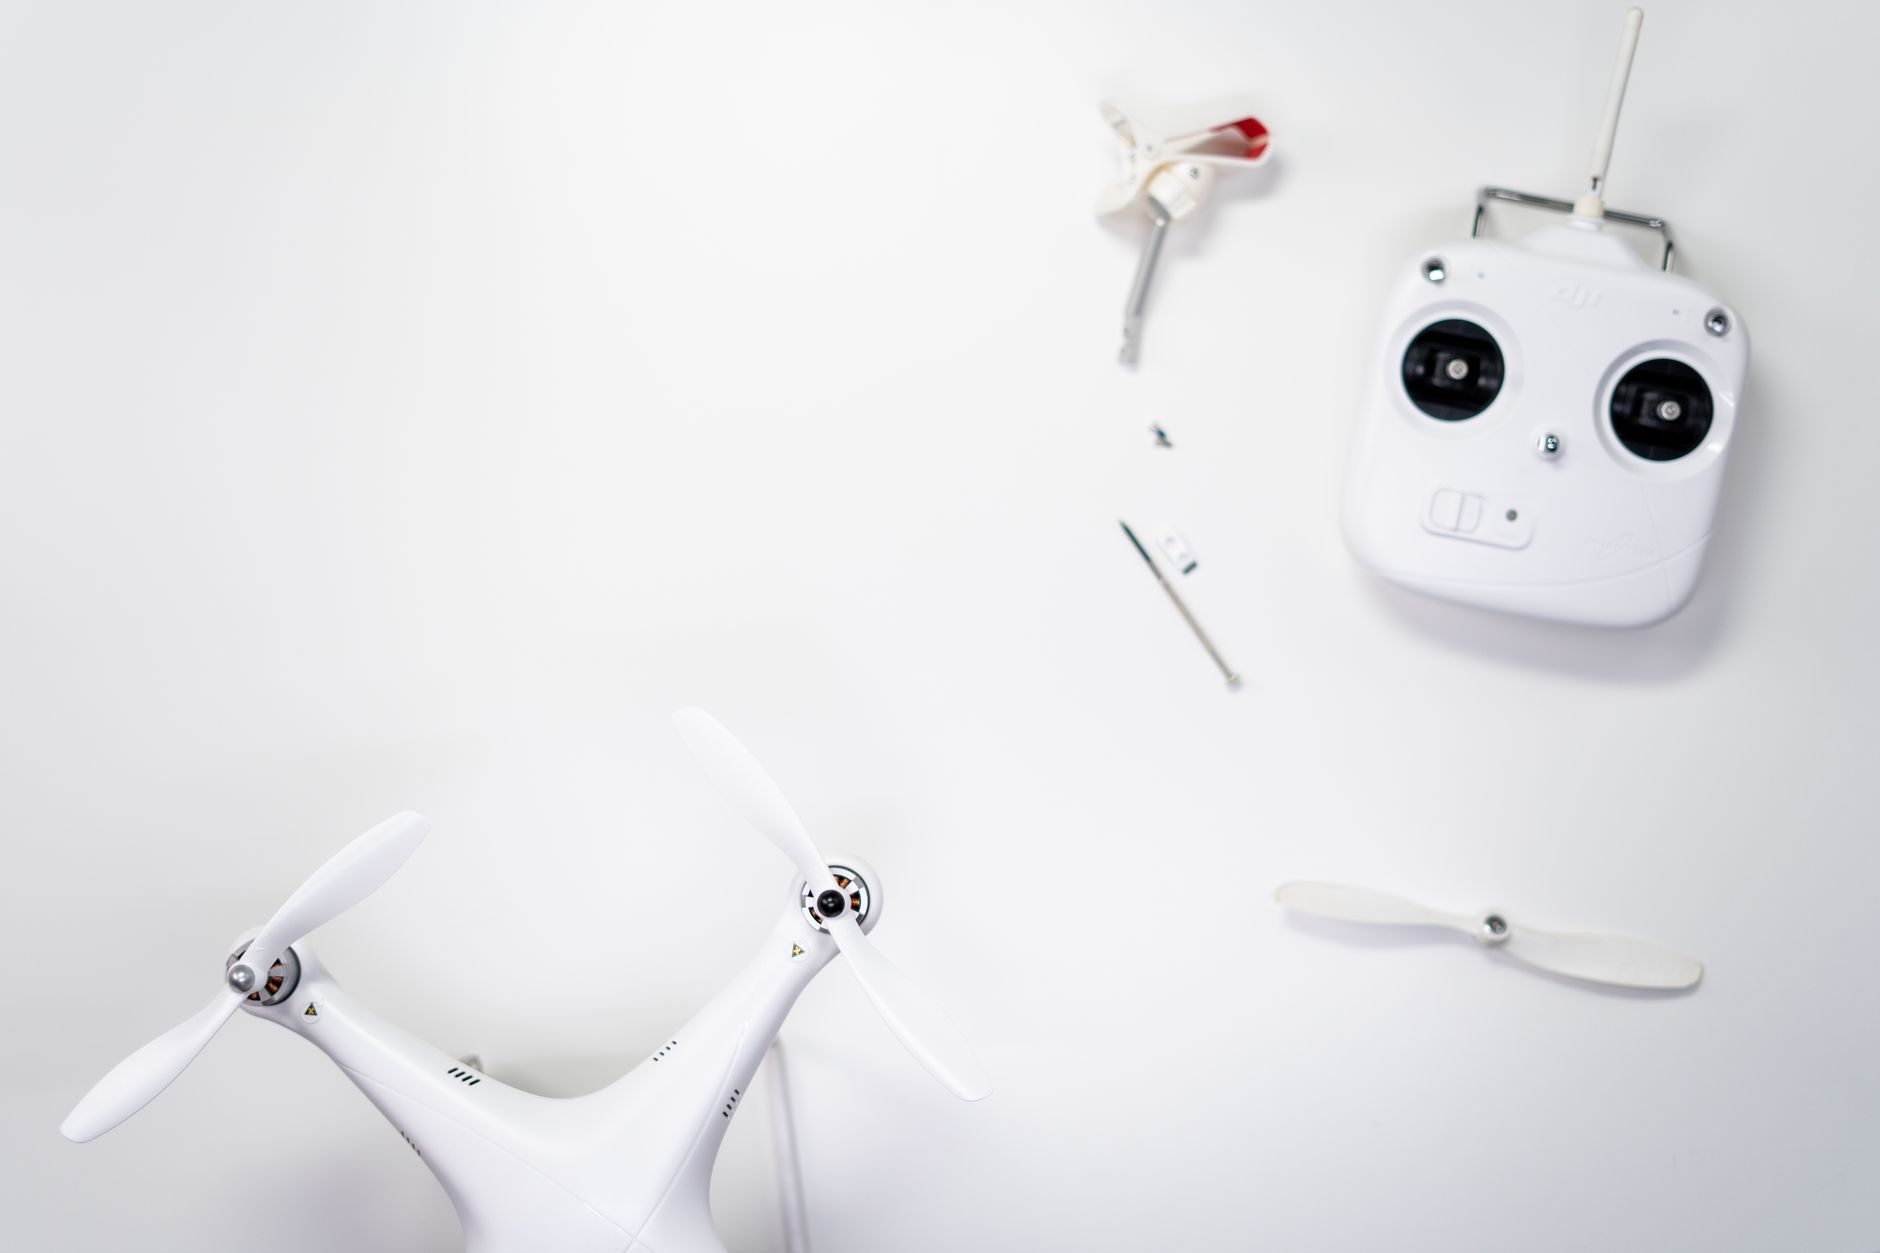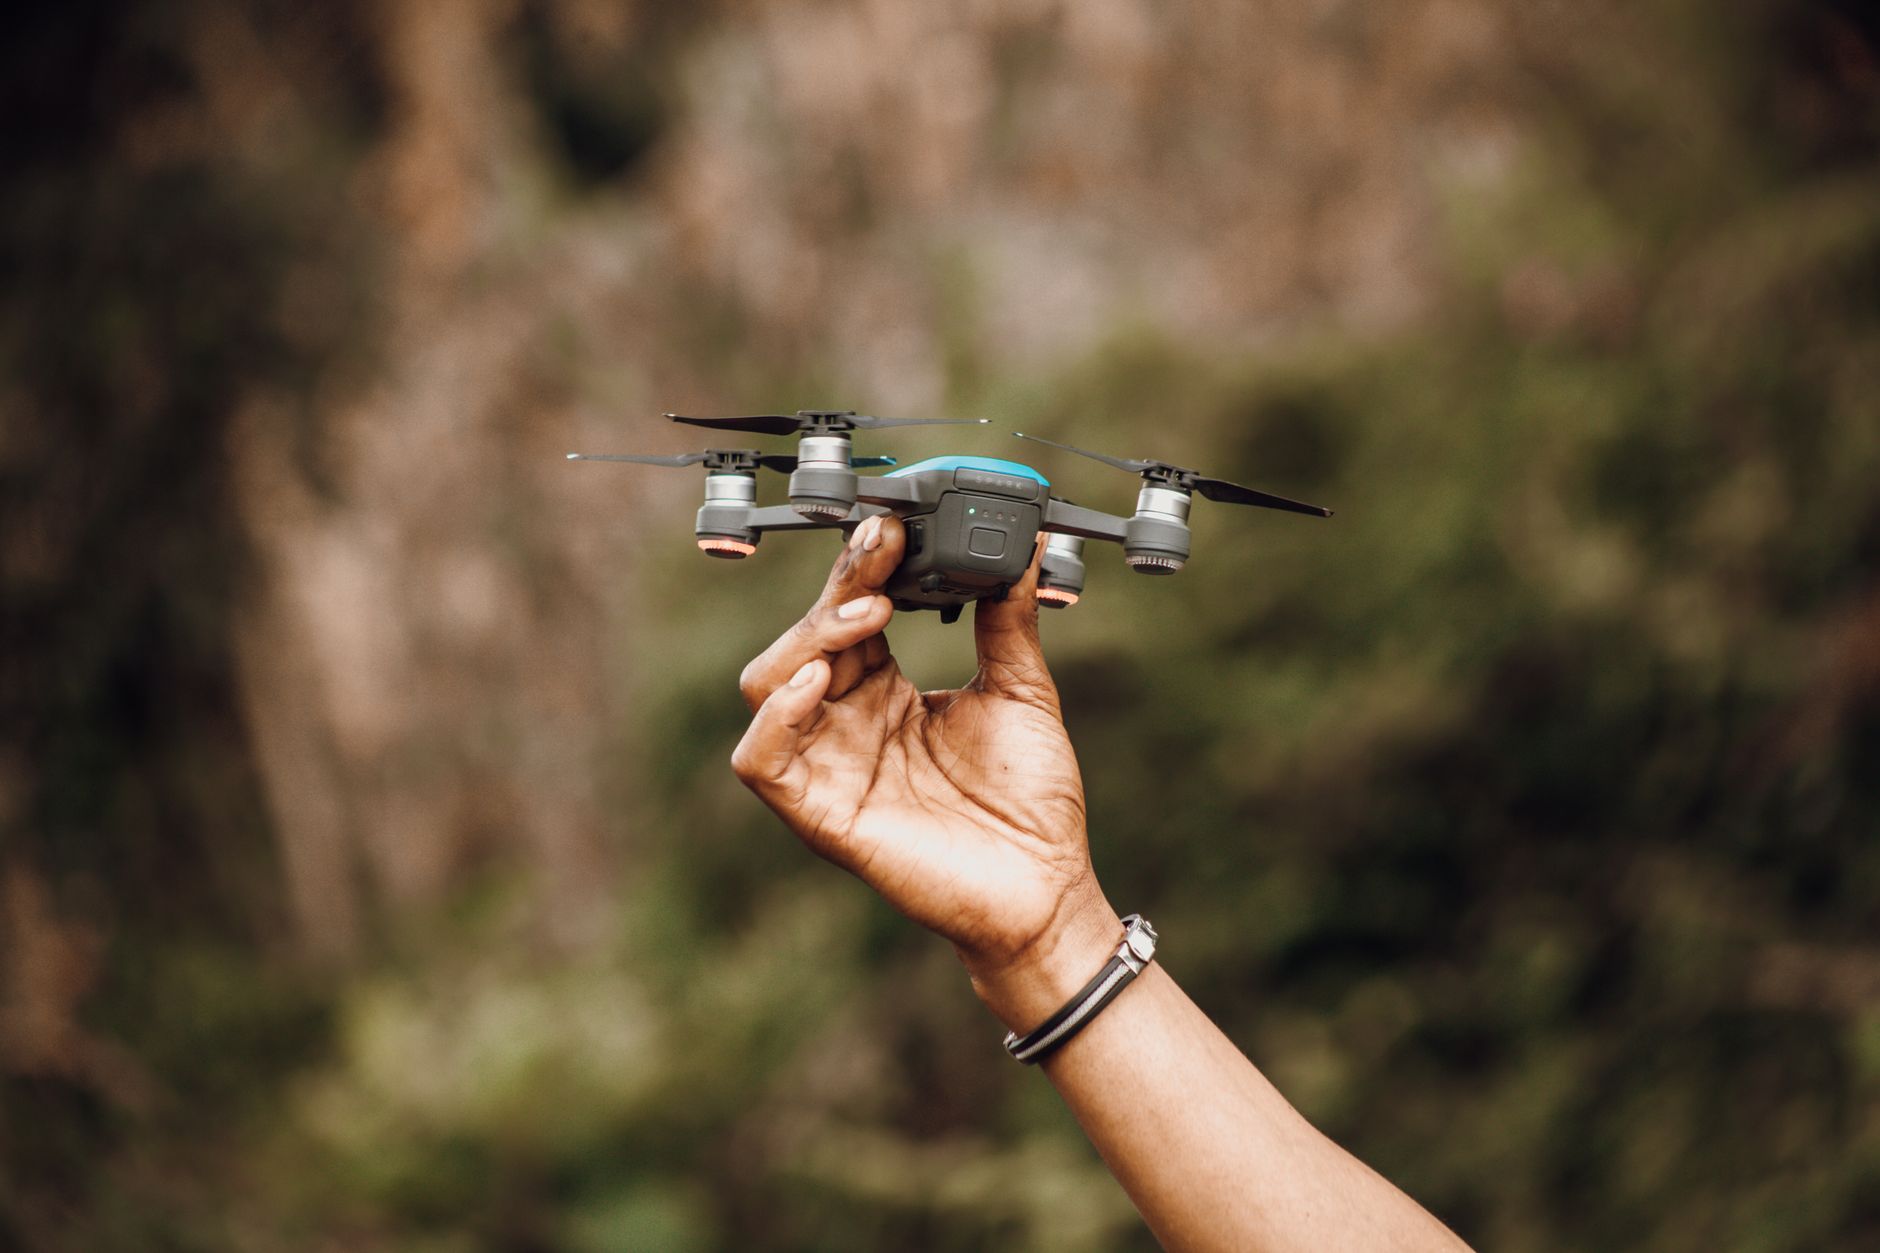
Learning to fly a drone feels intimidating at first. My first takeoff ended with a wobble and a quick landing. But after a few structured sessions, the controls became natural. This guide walks you through your first flight and the drills that build real confidence. Start with a model from our best drones for beginners list. A lightweight, stable drone reduces stress and repair costs. Many beginner models include propeller guards and one-key return features. The FAA treats drones under 250 grams as recreational aircraft with fewer restrictions. Still, you must follow airspace rules. Check your country’s rules before you charge a battery.
You do not need a Part 107 certificate for personal flights in the U.S. But you must pass the free FAA TRUST test and register drones over 249 grams. Registration costs $5 for three years. In Canada, Transport Canada requires basic or advanced pilot certification for most drones. A good first drone often flies for 20 to 30 minutes per battery. That is enough time to practice without rushing. Use this tutorial as a repeatable training plan. Each step builds on the previous one. You will move from preflight checks to controlled landing and basic maneuvers.
What You’ll Need
- Beginner drone under 250 grams
- Fully charged drone batteries
- Controller and smartphone
- FAA TRUST certificate (U.S.) or Transport Canada certificate
- Open practice area
- Landing pad or plywood
- Drone repair tool kit
How Do You Fly a Drone?
- Understand local rules and register if required
In the United States, recreational pilots must pass the free TRUST safety test. You must also register any drone heavier than 249 grams through the FAA. The registration fee is $5 and covers three years. Your registration number must be visible on the outside of the drone. Check the drone laws in the USA for state-specific restrictions. If you fly in Canada, read the Canadian drone rules before you buy. Transport Canada requires a drone pilot certificate for basic or advanced operations. A sub-250 gram drone has fewer rules but still must avoid restricted airspace.
Never skip this step. Airspace authorization is not a suggestion. Use the FAA’s B4UFLY app or a Transport Canada approved tool before takeoff. Even recreational pilots can face fines for flying near airports, stadiums, or emergency scenes. Your home may be inside controlled airspace without you knowing it. That is a common beginner mistake. Once you confirm you are legal, move on to hardware selection.
- Choose a beginner drone and inspect every part
For your first flights, pick a drone that is stable, light, and cheap to repair. Our best drones for beginners guide lists models with GPS hold, one-key takeoff, and propeller guards. Kids learning on a supervised setup can start with options from best drones for kids. Avoid heavy camera drones until you can hover without thinking. A basic drone with a 1S battery runs at 3.7 volts nominal. A 2S battery gives 7.4 volts and more punch. Check a manufacturer’s page for actual flight time and battery specs. Many beginner drones fly for 10 to 18 minutes per charge.
Before the first power-up, inspect the aircraft. Look for cracked frames, bent propeller blades, or loose motor mounts. Tighten the propellers by hand but do not force them. A loose propeller can cause a crash in the first minute. Check that the camera gimbal cover is removed on models that include one. Keep the original box and foam insert for storage. Your next step is to charge the batteries and update the firmware.

- Charge batteries fully and update the app
Charge every battery with the factory charger. Do not use a random USB adapter that delivers the wrong current. Most beginner drone batteries charge from 0 to 100 percent in 60 to 90 minutes. A typical 1S cell stores at 3.7 volts but charges to 4.2 volts. Stop charging when the indicator shows full. Do not leave packs unattended overnight. Follow the advice in our drone battery care guide to extend pack life.
While batteries charge, update the drone and controller firmware. Open the manufacturer app and follow the prompts. Do not skip the compass calibration step if the app asks for it. Connect the controller to your phone with a cable or Wi-Fi. Confirm that the video feed appears and that the gimbal responds. A fresh battery plus current firmware prevents mid-air disconnects. Once all packs are ready, go to the next step and find a safe practice spot.
- Pick a legal, open practice area
A soccer field or empty park is better than a backyard. You need at least 30 feet of open space in every direction. Check local parks for drone restrictions before you drive there. The FAA B4UFLY app shows controlled airspace and temporary flight restrictions. Many cities ban drones in public parks, so confirm first. If you are unsure, review the drone laws in the USA or the Canadian equivalent. An open field with short grass reduces crash damage. Avoid trees, power lines, water, and buildings. You want a clear area for your first hover and landing drills.
Wind is a bigger factor than most beginners realize. A 10 mph gust can push a lightweight drone off course. Check a weather app and the ground signs. If leaves are rustling steadily or flags are standing out, wait for a calmer day. The goal is to learn control inputs, not fight weather. Once you have your site, set up your preflight routine.
- Run through preflight checks and set controls
Create a repeatable preflight routine. Start by placing the drone on a flat surface with the camera facing away from you. This makes stick direction match the drone’s movement. Use a landing pad or a piece of plywood if the ground is dusty. Many useful items are in our best drone accessories list. Check that the propellers are secure and the battery clicks into place. Power on the controller first, then the drone. Wait for the GPS lock or the steady status light. If the drone has return-to-home, set it to a safe altitude above nearby obstacles.
Before takeoff, confirm the control sticks are set to Mode 2. Mode 2 is standard in North America. The left stick controls throttle and yaw. The right stick controls pitch and roll. Move each stick gently and watch the response on the screen. If the drone drifts without input, recalibrate the compass and IMU. A good preflight check takes two minutes and prevents most first-flight crashes.

- Take off, hover, and drill basic stick moves
Do not rush to high altitude. Use the one-key takeoff or push the throttle up slowly until the drone lifts off. Hover at eye level, about 4 to 6 feet high. Hold the drone in place by making small corrections. If it drifts left, tap the right stick right. If it rotates, correct with the left stick. The goal is to keep the drone inside an imaginary box for 30 seconds. Land and repeat until hovering feels boring. This is the single most important beginner drill.
Next, practice the four basic movements. Fly forward and back, then left and right. Keep the nose facing away from you the whole time. Return to center before each new move. Then try yaw only. Rotate the drone 90 degrees left, stop, and rotate back. Repeat this for 10 minutes. Use our best drones for aerial photography guide later when you are ready to frame shots. Right now, focus on control. Short 10 minute sessions work better than one long session. Your muscles need repetition more than endurance.

- Perfect landings and emergency recovery
Landing is harder than takeoff because ground effect pushes the drone around. Begin your landing from a stable hover at 2 to 3 feet. Reduce the throttle slowly. Do not chop the throttle to zero. If the drone starts to tip, add a little throttle and stabilize. Touch down on the landing pad with the drone level. A good landing means you can take off again without straightening props. Practice this sequence five times per battery. Use the drone battery care guide to manage your packs between flights.
Also practice emergency recovery. If the drone gets too far away, use return-to-home if available. If not, stop and hover first. Do not panic and mash the sticks. Reduce throttle and correct one axis at a time. Once you can land from any direction, you are no longer a true beginner. Consider advanced training or a drone license if you want to fly for work. The how to get a drone license guide covers Part 107 basics. At this point, your flights should feel controlled and repeatable.
Red Flags & Warnings
- 🚨 Never fly near airports, helipads, or emergency response scenes. Check airspace with an FAA or Transport Canada approved app first.
- 🚨 Do not rely on GPS alone in tight spaces. Practice manual control so you can recover if the compass or GPS signal fails.
- 🚨 Keep your fingers away from spinning props. Always remove the battery before picking up a crashed or tangled drone.
- 🚨 Land at 20 percent battery or above. Storing packs at 3.85 volts per cell prevents swelling and capacity loss.
- 🚨 Do not fly in wind that exceeds the drone’s maximum speed rating. A 10 mph gust can overpower a lightweight beginner drone.
- 🚨 Never fly over people, moving vehicles, or private property without permission, even if your drone weighs less than 250 grams.
Frequently Asked Questions
Do I need a license to fly a drone as a beginner?
In the United States, recreational pilots do not need a Part 107 license but must pass the free FAA TRUST test. Drones over 249 grams also require FAA registration at $5 for three years. In Canada, most drones require a basic or advanced pilot certificate from Transport Canada. Always check local rules before flying.
What is the best drone for a first flight?
A lightweight drone under 250 grams with GPS hold and propeller guards is ideal. These models are stable in calm winds and cheaper to repair. Avoid heavy camera drones until you can hover and land without thinking.
How long does it take to learn to fly a drone?
Most beginners can control a drone after 5 to 10 battery cycles of structured practice. That works out to about 2 to 3 hours of stick time. Consistency matters more than long sessions. Practice hover, yaw, and landing drills for progress.
Can I fly a drone in my backyard?
Backyards are often too small or surrounded by obstacles and people. A soccer field or empty park is safer. Always check local parks for drone restrictions. Your backyard may also be inside controlled airspace near an airport.
What should I do if my drone starts drifting?
Stop and hover if possible. Make small corrections with the right stick. If the drift continues, land and recalibrate the compass and IMU. Avoid flying in GPS mode until calibration is complete.
How do I store drone batteries safely?
Store batteries at 3.85 volts per cell in a fireproof bag. Do not leave them fully charged for more than a few days. Keep packs at room temperature. Check packs for swelling or damage before each flight.
What Should You Remember?
- Start with a sub-250g drone. Light models reduce registration burden and crash damage.
- Pass the FAA TRUST test. U.S. recreational pilots need this free certificate before flying.
- Use preflight checks. Inspect props, battery, and controls before every session.
- Practice hovering first. A stable hover at eye level builds stick memory fast.
- Fly in open spaces. A soccer field with short grass is safer than a backyard.
- Land at 20 percent battery. Preserve pack health and avoid mid-air shutdowns.
- Store packs at 3.85 volts. Proper storage voltage prevents swelling and extends life.
This article is for general information only. Drone regulations vary by region and change frequently — always verify current local laws and airspace rules before flying.